Our Location
304 North Cardinal St.
Dorchester Center, MA 02124

304 North Cardinal St.
Dorchester Center, MA 02124

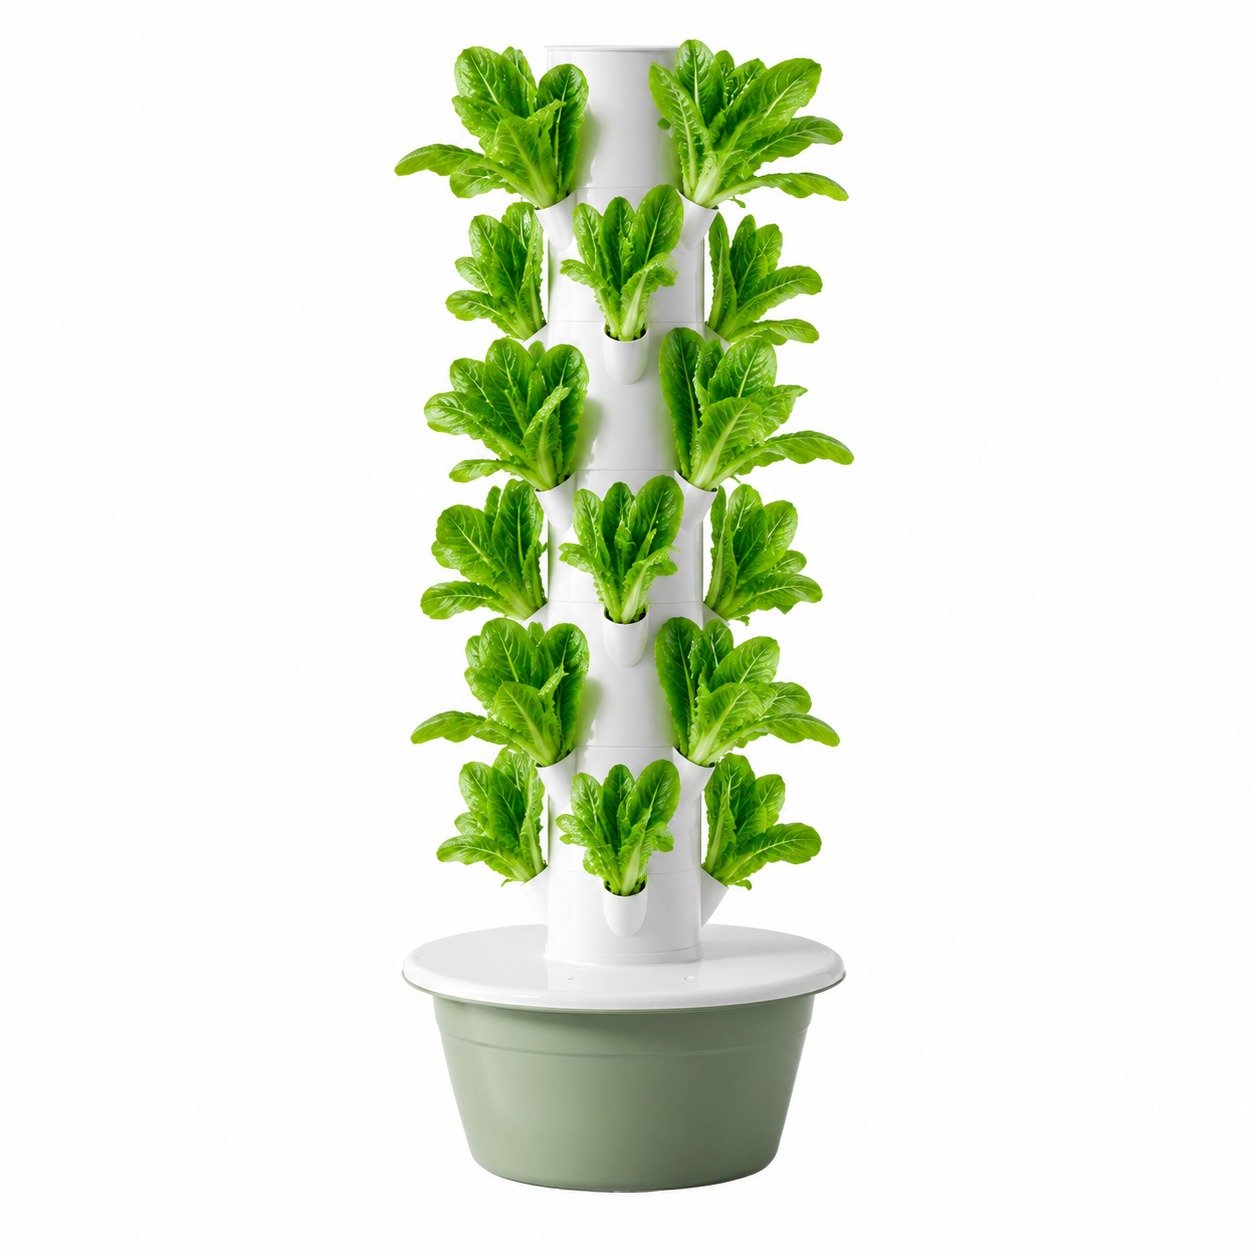
Most new tower growers don’t lose their first crop to a bad nutrient mix or a broken pump. They lose it at transplant — the moment a fragile seedling leaves the nursery tray and has to establish itself in a completely new environment. Get this step wrong and plants stall for a week, drop leaves, or simply die. Get it right and your tower goes from germination to harvest with zero drama. This guide walks you through the entire process: choosing a propagation medium, setting up rockwool, sowing seeds, recognizing when seedlings are ready, transplanting them into your tower the right way, and the seven most common mistakes to avoid.
In a hydroponic tower, the root system is the plant’s engine. During transplant, every root that gets torn, dried out, or crushed is horsepower the plant has to rebuild before it can grow leaves again. In a typical 30–45 day leafy green cycle, losing even five days to transplant shock cuts your production window by 12–17% — and in a commercial rack, that gap repeats on every single tower, every single cycle.
A clean transplant is not about luck. It comes down to three things you control: the seedling’s age, the condition of its roots, and how gently the seedling moves from tray to tower. Get those three right and most seedlings never show any shock at all — they keep growing through the move like nothing happened.
Rockwool cubes are the industry standard for tower propagation, and for good reason: they hold water and air in the balance young roots need, they are pH-stable once pre-soaked, and they slot directly into standard tower planting holes without any extra handling. For leafy greens such as lettuce, spinach, and kale, use 1.5-inch cubes; for fruiting crops like tomatoes or peppers, step up to 2-inch cubes.
Pre-soak before anything else. Dry rockwool has a high natural pH (often 7.5–8.5) that will burn young roots. Soak the cubes in water adjusted to pH 5.5 for at least one hour — overnight is better — then let them drain until they are moist but not dripping. This single step prevents more seedling failures than any other.
| Medium | Water retention | pH stability | Handling | Best for |
|---|---|---|---|---|
| Rockwool cubes | Excellent | Stable after pre-soak | Firm, easy to grip | Tower growers (standard choice) |
| Coco coir | Good | Needs buffering | Soft, can crumble | Growers who prefer organic media |
| Oasis (florist foam) cubes | Very good | Stable | Soft but cohesive | Leafy greens, quick rooting |
| Peat pellets | Good | Acidic, needs adjustment | Mesh can tangle roots | Hobby-scale growing |
Sowing depth and moisture decide how uniformly your seedlings emerge. As a rule, plant each seed at a depth of two to three times its own diameter — for lettuce and most leafy greens that means barely pressing the seed into the surface of the cube, while larger seeds like cucumber go slightly deeper.
Timing is the half of transplanting that most growers get wrong — usually by waiting too long. The ideal transplant window for leafy greens is 10–14 days after sowing. A seedling is ready when it checks every box below:
Transplant too early and the root ball is too small to survive handling; too late and the roots mat together in the tray, so separating them tears the plant apart. The 10–14 day window is the sweet spot for nearly every leafy green you will grow in a tower.
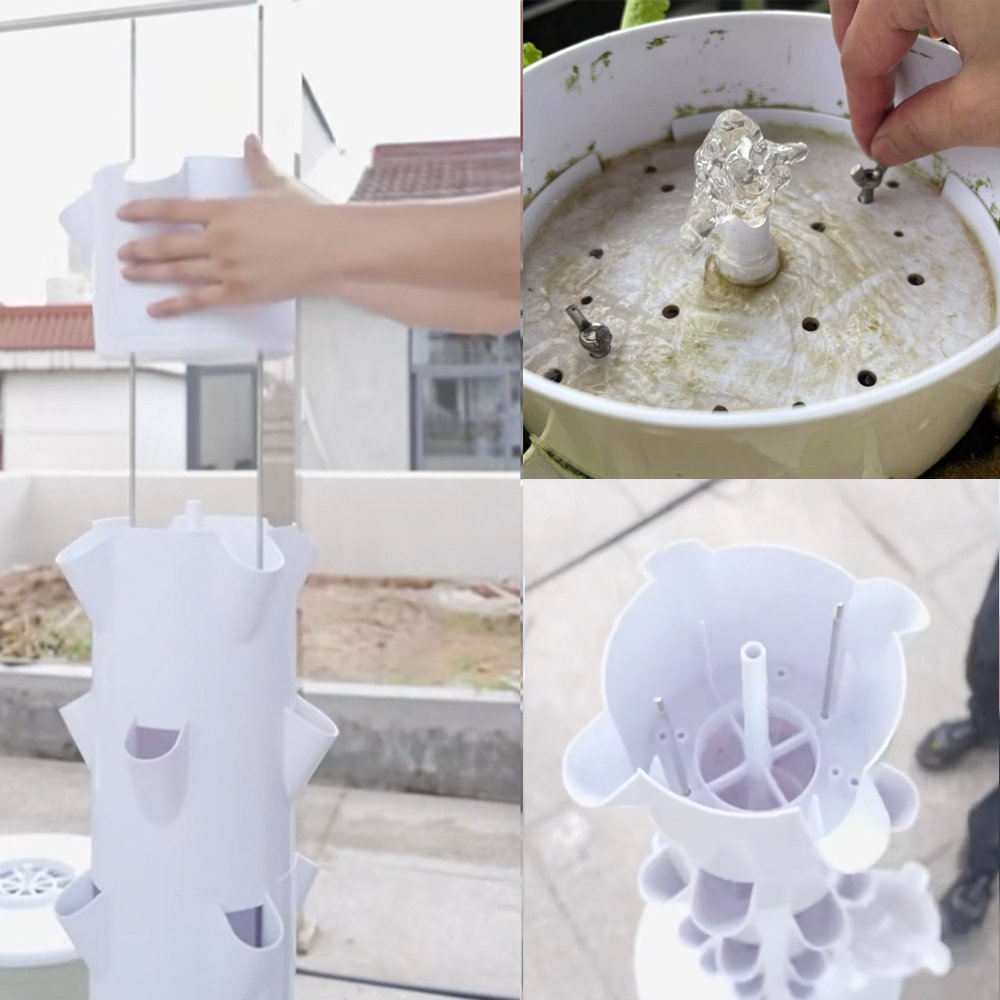
When the seedlings are ready and your tower is running with a fresh nutrient solution, follow this sequence. It takes about ten minutes per tower once you have a rhythm.
The week after transplant is the recovery window. Even with a perfect transplant, young plants are settling in, so give them an easier start than mature plants would get:
Nearly every failed transplant traces back to one of the seven mistakes below. Run through this table whenever a batch of seedlings stalls:
| Mistake | What goes wrong | How to avoid it |
|---|---|---|
| Pulling seedlings by the stem | Crushed stem tissue, wilted plants within hours | Always lift and carry by the rockwool cube |
| Transplanting too late | Matted, tangled roots tear apart during separation | Transplant at 10–14 days, when roots just reach the cube edge |
| Nutrient solution too strong | Leaf tip burn, stunted growth | Start at EC 1.2–1.5 for leafy greens, raise gradually |
| Full light right after transplant | Dehydration while roots are still settling | Cut to 12–14 light hours for the first week |
| Ignoring pH | Nutrient lockout — yellowing that no fertilizer fixes | Keep reservoir pH in the 5.5–6.5 range, check weekly |
| Two seedlings per hole | Competition, weak elongated plants | One seedling per hole, always |
| Dry cubes at transplant | Root desiccation, transplant shock that lingers for weeks | Soak cubes in pH-balanced water immediately before inserting |
Transplanting is where tower design meets grower skill. A tower whose planting holes are sized for standard rockwool cubes, whose water distribution reaches every level evenly, and whose supplier shares a proper growing manual, removes most of the variables that cause transplant failures. That is exactly what factory-direct supply delivers: the equipment is built around how growers actually work, and the technical team behind it has seen thousands of towers planted — not just one showroom unit.
When you buy direct from the factory, you also get the documentation and support that retail listings never include: recommended seedling stages for each crop, water and nutrient schedules, and troubleshooting help for the first cycles. For a commercial operation, that support is worth more than any discount.
