Our Location
304 North Cardinal St.
Dorchester Center, MA 02124

304 North Cardinal St.
Dorchester Center, MA 02124

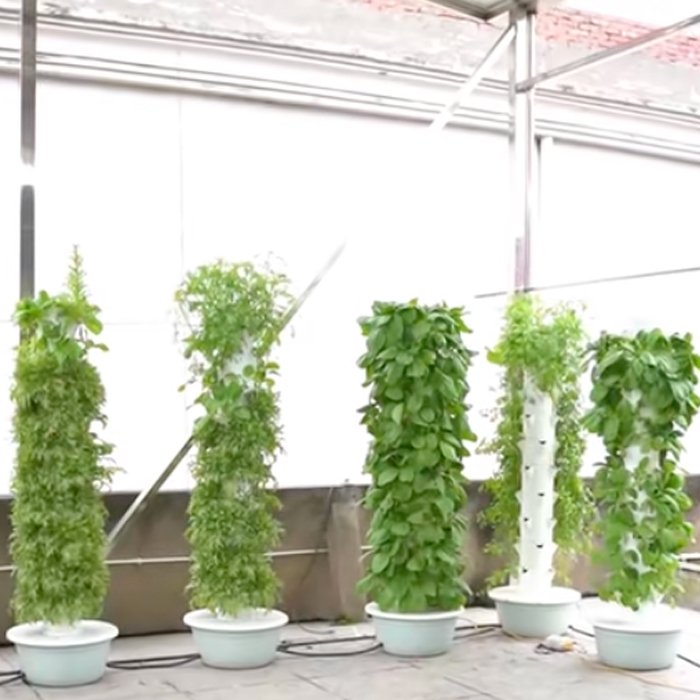
For a commercial grower, winter is not a season to shut down — it is the season with the thinnest local supply, the highest produce prices, and the strongest demand for fresh greens. The problem is that hydroponic systems, for all their advantages, run on liquid: when that liquid gets cold, plant metabolism slows, nutrient uptake stalls, and crops quietly stop paying rent. The good news is that every one of these winter risks is manageable with the right strategies. This guide walks greenhouse and indoor growers through water temperature management, heating economics, lighting in low-sun months, freeze protection, and the crops that actually earn their keep in winter — all built around vertical hydroponic towers.
In soil, the ground mass acts as a thermal buffer — it warms slowly and cools slowly. In a hydroponic tower, your plants’ root zone is a thin film of nutrient solution circulating through an exposed column. The air temperature drops, the solution follows, and the root zone becomes the coldest part of the plant instead of the most protected one. That single difference explains most winter failures.
Cold nutrient solution hits plants in three compounding ways:
Meanwhile, the market side of winter is working in your favor. Local field production is gone or minimal, imported greens are at their price peak, and restaurants and supermarkets are hungry for reliable supply. Growers who solve the temperature problem effectively get premium winter pricing with far less competition. The remainder of this guide is about becoming one of them.
Everything else in winter growing is secondary to keeping the root zone in its productive band. Different crops have different comfort zones, but the practical target range for most tower-grown leafy greens and herbs is 18–22°C (64–72°F) in the nutrient solution. Here is a quick reference for the crops you are most likely to run commercially:
| Crop | Ideal Solution Temperature | Winter Risk Below This Range |
|---|---|---|
| Lettuce & leafy greens | 18–21°C (64–70°F) | Stalled growth, tipburn risk from uneven uptake |
| Kale, Swiss chard & hardy greens | 15–20°C (59–68°F) | Tolerate cool better; growth slows below 13°C (55°F) |
| Basil & tender herbs | 20–24°C (68–75°F) | First to suffer; basil stops growing below 15°C (59°F) |
| Strawberries | 17–21°C (63–70°F) | Poor fruit set, slow ripening |
| Tomatoes, peppers & cucumbers | 20–24°C (68–75°F) | Only viable in heated greenhouses; skip if you are heating minimally |
A useful rule of thumb: if your nutrient solution is below 15°C (59°F), no amount of air heating will fix your crop. Air temperature affects the canopy; solution temperature affects the engine. Solve the reservoir first.
You do not need to heat the entire greenhouse to grow well in winter — you need to heat the water, and let the water carry warmth to the roots. The most practical options, in order of cost-effectiveness:
Monitor solution temperature daily — cheap digital thermometers or a simple aquarium thermometer per reservoir are enough. The moment you see a consistent reading below 16°C (61°F), act before growth stalls, not after. For the broader water-quality picture, including pH drift in cold weather, our water quality and pH management guide covers the full routine.
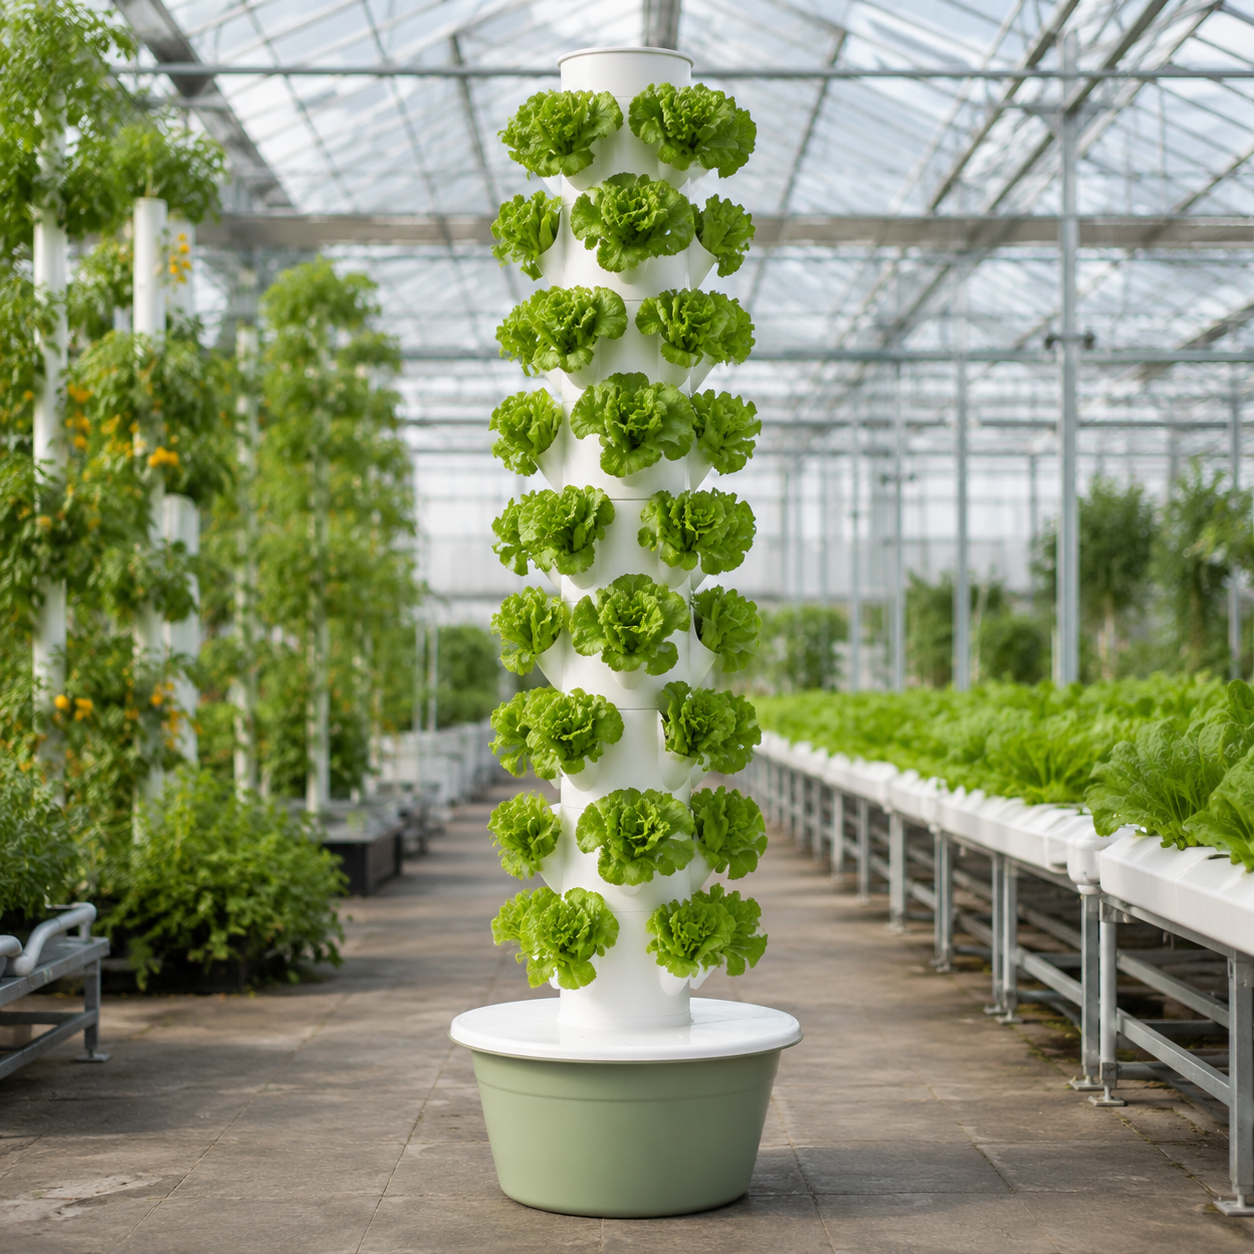
Once the reservoir is handled, the next question is how much to heat the air around the crop — and how to do it without letting energy bills eat the winter price premium. The honest answer is that you do not need tropical conditions. Leafy greens grow fine with day air temperatures of 16–20°C (61–68°F) and nights no lower than 10–12°C (50–54°F) — provided the root zone stays warm. Every extra degree above that is a direct cost you should justify with crop value.
| Heating Approach | Best For | Upfront Cost | Running Cost | Notes |
|---|---|---|---|---|
| Passive solar + insulation | Small to mid greenhouses | Low | Near zero | Double-layer film, bubble wrap, thermal curtains; captures daytime sun |
| Propane / natural gas heater | Mid to large greenhouses | Medium | Medium | Most common commercial choice; vented units keep CO2 manageable |
| Electric fan heater | Small setups, backup | Low | High | Use for frost protection only, not as primary heat at scale |
| Air-source heat pump | Indoor farms, well-insulated greenhouses | High | Low–medium | Best efficiency in mild winter climates; check low-temp ratings |
Before upgrading your heater, upgrade your envelope. Greenhouse growers routinely cut heating demand 30–50% with these low-tech steps: seal gaps around doors and vents, add a second layer of film (with a small air gap) over glazing, install thermal curtains to trap heat at night, and cover the floor of unused aisles to reduce heat sink. For indoor growers, the equivalent is simple: keep the grow room sealed, insulate exterior walls, and avoid venting warm air unless humidity demands it. Every kilowatt-hour you save on the envelope is margin you keep — the same logic as our summer heat management guide, applied in reverse.
Temperature is half the winter equation; light is the other half. In December, a greenhouse in the northern US, Canada, or northern Europe receives a fraction of the sunlight of June — often only 20–40% of the daily light integral (DLI). Leafy greens want roughly 15–17 mol/m²/day for good growth rates; an unlit northern greenhouse in midwinter might deliver 4–8. No amount of heat can compensate for light debt — plants simply cannot photosynthesize what is not there.
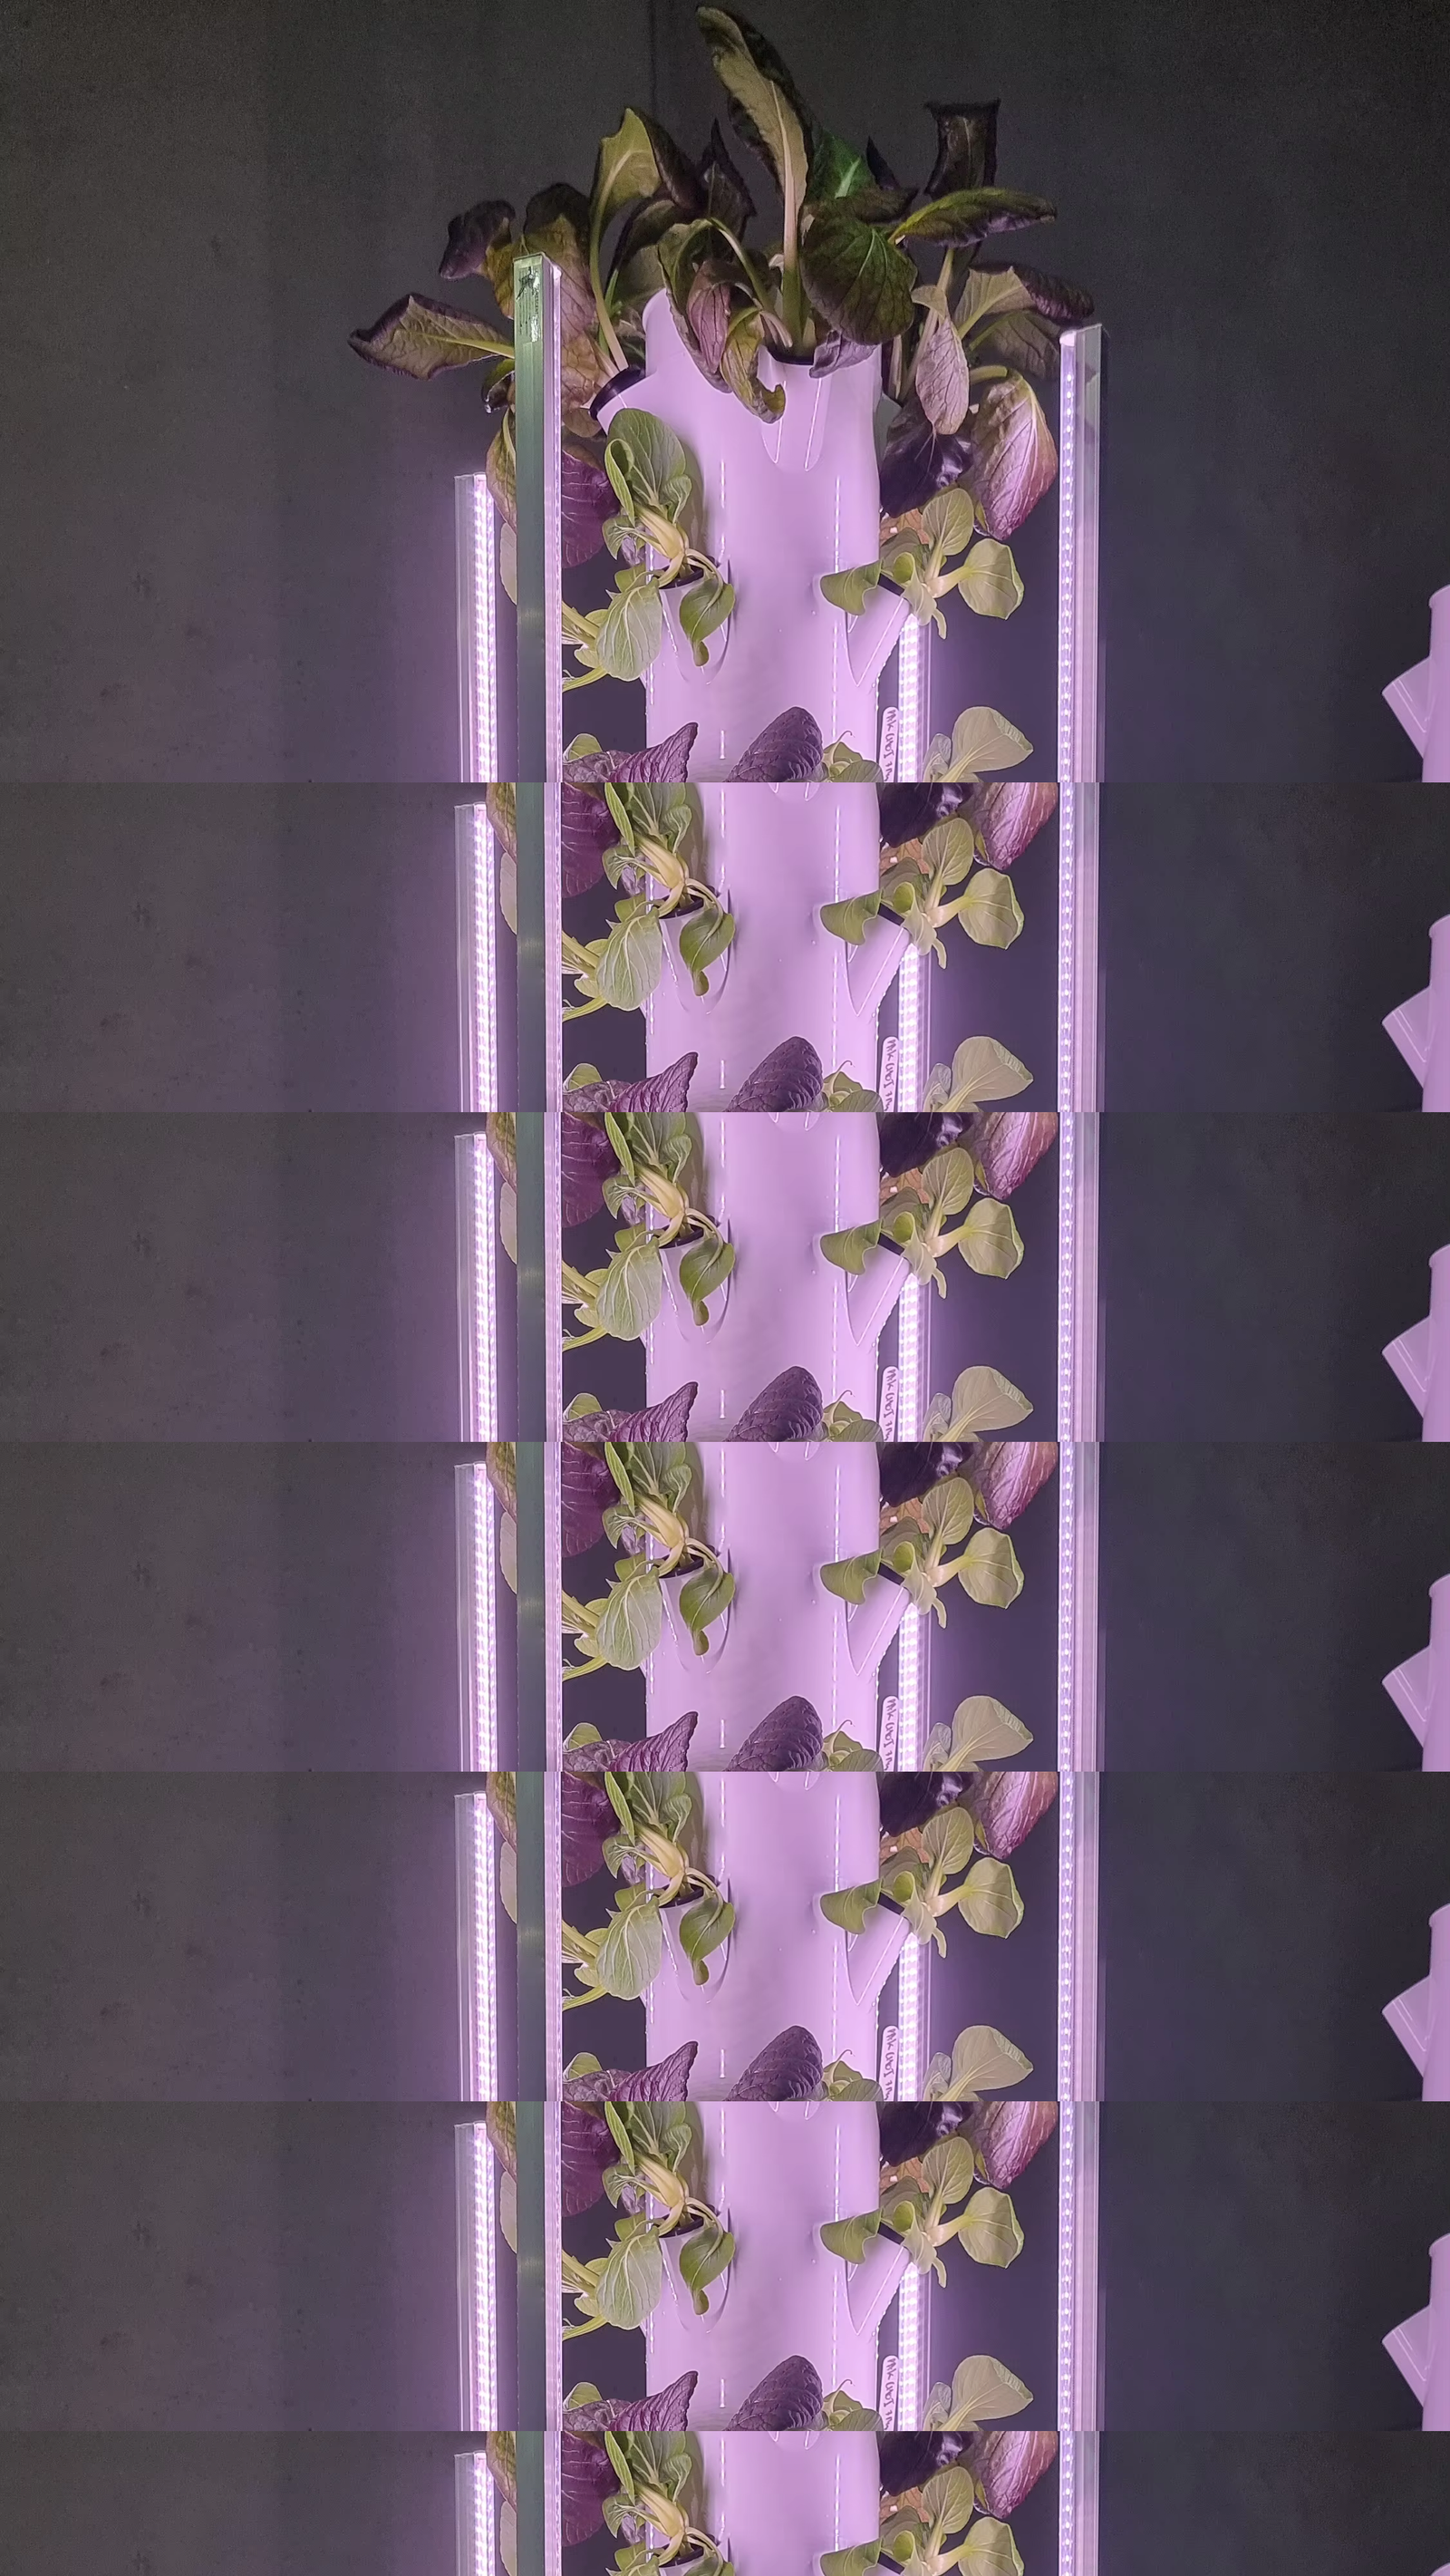
The practical strategy for tower growers:
One caution: more light without warm-enough roots does not help — it stresses the plant. Fix temperature first, then add light. The two work as a system.
Winter is the season to grow what the market wants most and what your system can deliver cheaply: fast, cold-tolerant, high-value greens. Save the heat-loving crops for the summer article. For commercial tower production in winter, this is the lineup that earns its keep:
| Crop | Cold Tolerance | Days to Harvest (Winter) | Why It Works in Winter |
|---|---|---|---|
| Lettuce (butterhead, romaine, crisphead) | Good | 35–50 | Fast turnaround, premium winter prices, high demand |
| Kale & collards | Excellent | 40–55 | Grows in cooler air; hardy to near-freezing |
| Spinach | Excellent | 30–45 | Loves cool conditions; bolts only in heat |
| Swiss chard | Excellent | 40–55 | Cut-and-come-again, steady production |
| Asian greens (pak choi, mizuna, tatsoi) | Good–excellent | 25–40 | Fast, compact, high restaurant demand |
| Herbs (mint, parsley, chives, thyme) | Good | 30–60 | High value per gram, consistent year-round demand |
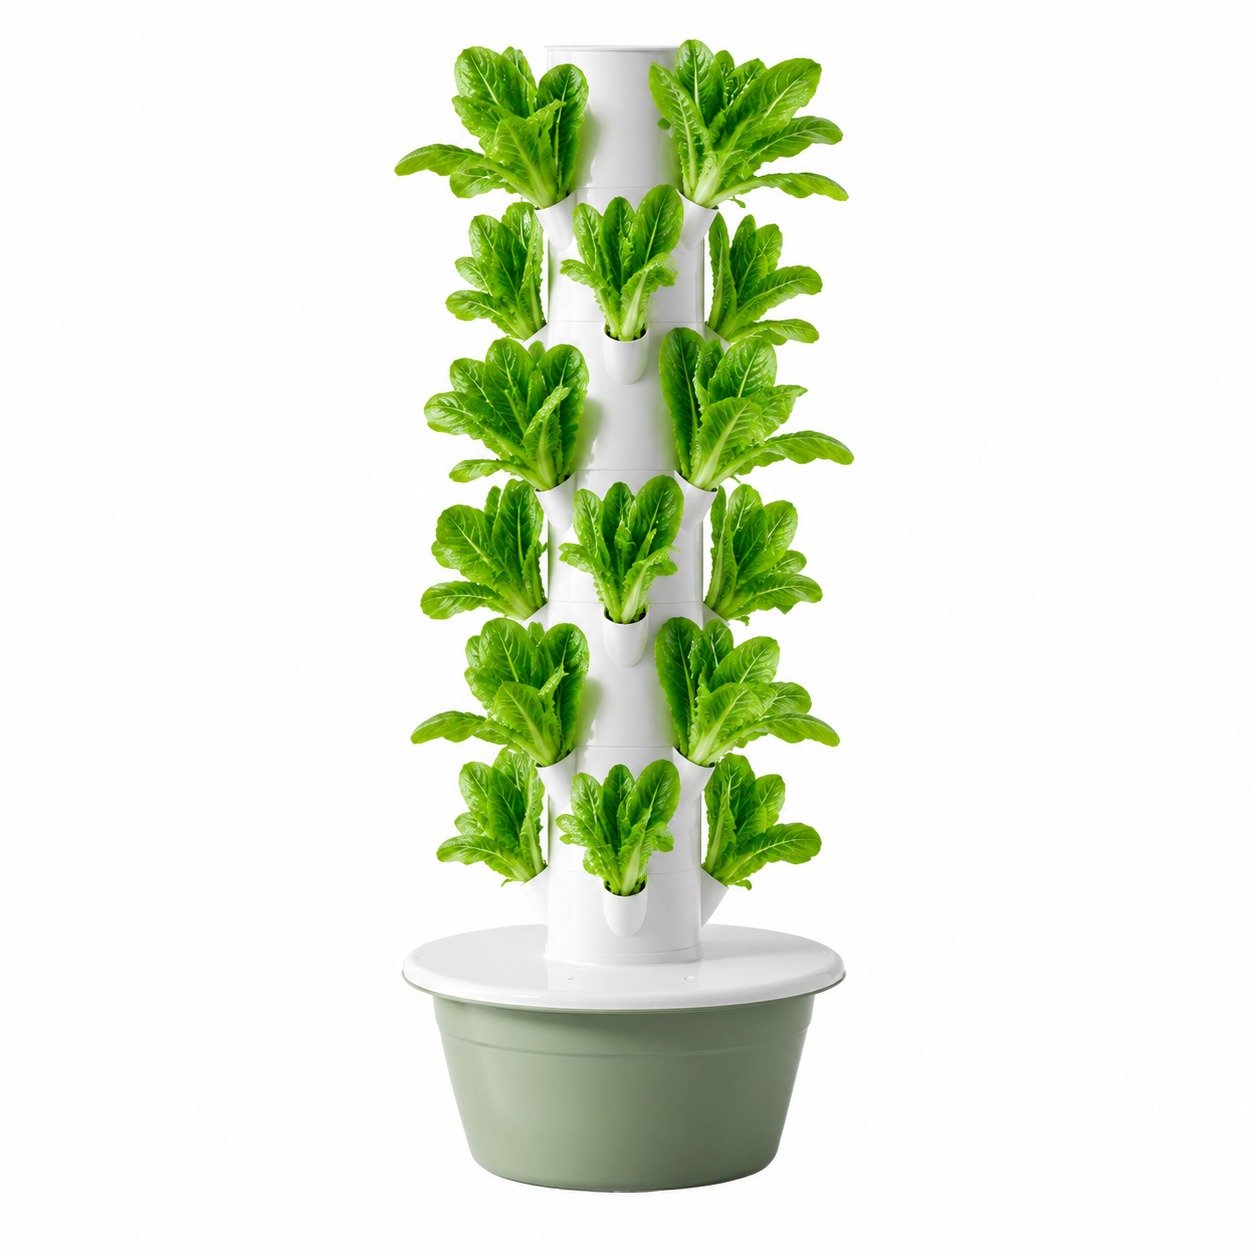
A few winter-specific growing notes: cool air slows transpiration, so plants drink less — monitor reservoir levels and reduce feeding frequency accordingly. Growth rates will be slower than in summer no matter what you do; plan plantings with a longer buffer between sowings so harvests stay continuous rather than bunching. For a full crop-by-crop breakdown of what grows well on towers, including spacing and variety selection, see our best crops guide.
A hard freeze does not just stress plants — it destroys equipment. Water expands when it freezes, and a cracked pump housing, burst supply line, or split reservoir can take the whole system down for days. Run through this checklist before the first frost warning, not after:
This checklist pairs naturally with our maintenance 101 routine — most winter damage is prevented by the same discipline that keeps systems healthy year-round.
Winter planning starts with a simple shift in mindset: grow fewer crop types, in higher rotation, at higher density. Because growth is slower, your harvest calendar needs more slack — a good rule is to add 20–30% to your summer crop cycle time and stagger plantings so you are never more than a week from the next harvest. This is where tower capacity math pays off: with 48 planting sites per 12-layer tower and continuous staggered planting, a 20-tower system can keep a steady weekly harvest of greens through the entire cold season. For the numbers on capacity, spacing, and weekly harvest planning, our plant capacity guide gives you the worksheet.
Two schedule tips specific to winter: first, harvest in the morning when sugars and quality are highest and the crop is firmest. Second, track your actual yield against the yield-per-square-foot benchmarks from summer — if winter yield drops more than 25–30%, your temperature or light strategy needs attention, not just acceptance.
If you are choosing a system for year-round commercial production, towers have structural advantages that matter most precisely in winter:
As a factory-direct manufacturer, we build tower systems — including LED-integrated models for indoor winter production — to survive real commercial conditions, from the tropics to northern greenhouses. Whether you are standardizing a winter grow room or outfitting a heated greenhouse, we can match the system to your climate and your budget. Tell us your winter setup, and we will tell you exactly what you need.
