Our Location
304 North Cardinal St.
Dorchester Center, MA 02124

304 North Cardinal St.
Dorchester Center, MA 02124

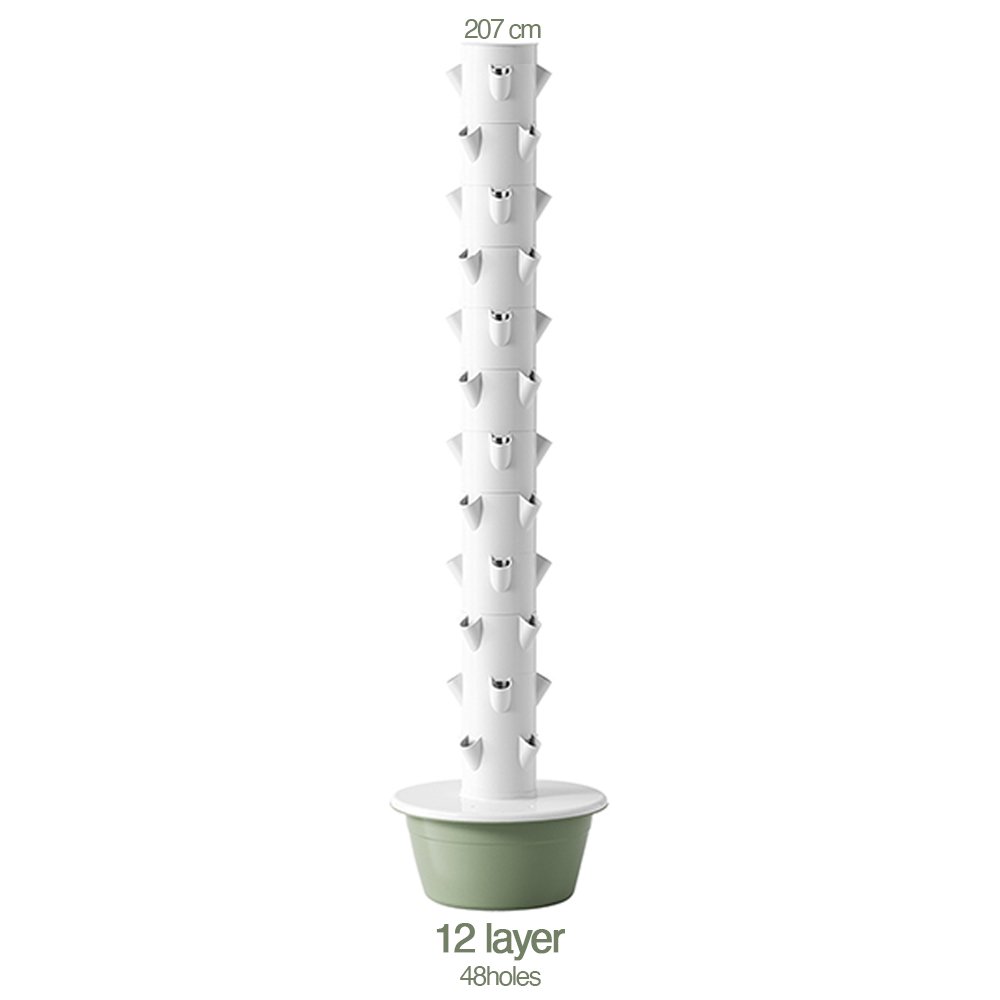
Every hydroponic tower starts the same way: with a seed, a plug, and a plan. The difference between a tower that produces 40 heads of lettuce a month and one that limps along with yellowing leaves is rarely the hardware — it is the planting sequence. Get the steps right and your tower basically runs itself; get them wrong and you will spend the whole season fixing problems that never should have happened.
This guide walks you through the entire cycle — choosing crops, starting seeds, transplanting, feeding, harvesting, and regrowing — with the exact numbers commercial growers need (timing, EC targets, planting density). It is written for the grower who is moving from soil to towers, and for operators who already run towers and want to tighten their cycle times.
Towers fail in week one more often than in week eight, and almost always because something small was missing on day one. Work through this checklist before your first seed touches water.
| Item | What it does | Buying note |
|---|---|---|
| Seedling plugs (rockwool, coco coir or sponge) | Germination medium — holds moisture and air around the seed | Rockwool (25–40 mm cubes) is the commercial standard; coco coir plugs are the compostable alternative |
| Net pots / grow cups | Hold the plug in the tower port | Check the port size of your tower before ordering — most towers use 2-inch (50 mm) cups |
| Seeds | The crop itself | Buy pelleted lettuce seed for precision sowing; order 15–20% extra for germination losses |
| Nutrient solution (A + B) | Complete plant food | Use a two-part hydroponic nutrient designed for leafy greens, not all-purpose fertilizer |
| EC meter + pH meter (or combo) | Measure nutrient strength and acidity | Calibrate before first use; buy spare calibration solution |
| Seedling tray with dome | Holds plugs at high humidity during germination | A 1020 tray with a clear dome is enough for hundreds of plugs |
| Grow light (if starting indoors) | Prevents seedlings stretching | Full-spectrum LED, 100–200 µmol/m²/s at plug level |
| Spray bottle / watering can with fine rose | Gentle watering of young plugs | Never hose young seedlings — seeds wash out of the plug |
If you are scaling beyond a handful of towers, read our plant capacity and spacing guide before you buy, and our 100-tower setup guide when you are ready to scale. The planting routine below is identical whether you run 2 towers or 200.
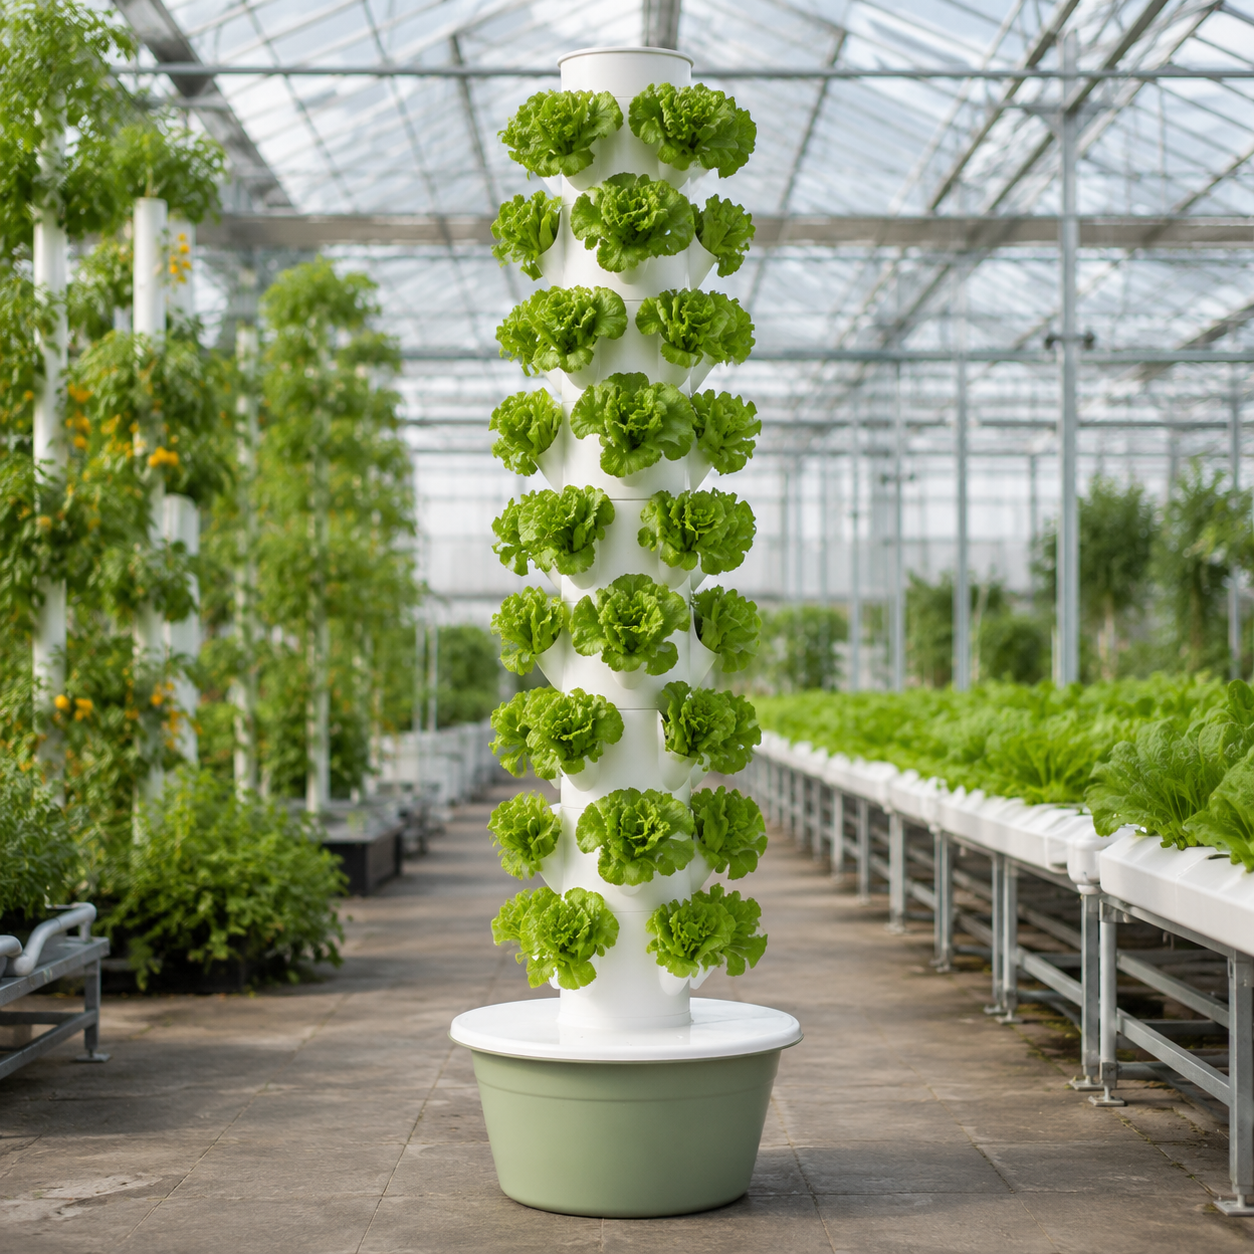
Not every crop earns its space in a tower. The best tower crops are fast, shallow-rooted, and harvested continuously — which is exactly why leafy greens, herbs, and small fruiting plants dominate commercial towers. Slow, deep-rooted, or heavy-fruiting crops (potatoes, sweet corn, large melons) are a waste of a port.
| Crop | Seed to first harvest | Harvest method | Notes |
|---|---|---|---|
| Lettuce (romaine, butterhead, oakleaf) | 30–40 days | Whole head or cut-and-come-again | The tower cash crop — fastest cycle, highest reliability |
| Kale, Swiss chard, arugula | 35–45 days | Cut-and-come-again | Multiple harvests from one plug; great for salad mixes |
| Basil, mint, cilantro | 28–40 days | Tip-pinch, continuous | Pinch above a node to keep plants bushy |
| Strawberries | 60–90 days (from runners) | Continuous pick | Use short-day varieties bred for greenhouse towers |
| Tomatoes, peppers (dwarf) | 70–90 days | Continuous pick | One per port, prune to 1–2 stems; needs support |
For the full ranked list with per-crop yields and spacing, see our best crops guide. When you are planning a mixed tower, remember the golden rule: fast crops go on the lower ports, tall or trailing crops go on the top rows so they do not shade the rest of the tower.
Germination is where most first-time tower crops die — not from bad seed, but from drowning. The plug must stay moist but never saturated, because the seed needs oxygen as much as water. Follow this sequence and you will get consistent, even germination across every tray.
| Parameter | Target | Why it matters |
|---|---|---|
| Air temperature | 20–24°C (68–75°F) | Too cold = slow, uneven germination; too hot = damping-off fungus |
| Relative humidity | 85–95% under dome | Prevents the plug drying out before roots establish |
| Light | 16–18 h/day at 100–200 µmol/m²/s | Stops stretching; builds stocky, transplant-ready seedlings |
| EC of water | 0.5–0.8 (no nutrients for first 5–7 days) | Seedlings feed off the cotyledon; early nutrients burn young roots |
| Airflow | Gentle fan on low, 1–2 h/day after day 3 | Strengthens stems and prevents damping-off |
A seedling is ready for the tower when it has 2–4 true leaves and roots are visible poking out of the plug — usually 10–14 days after sowing. Transplanting earlier wastes ports on plants that stall; transplanting later means tangled roots and transplant shock.
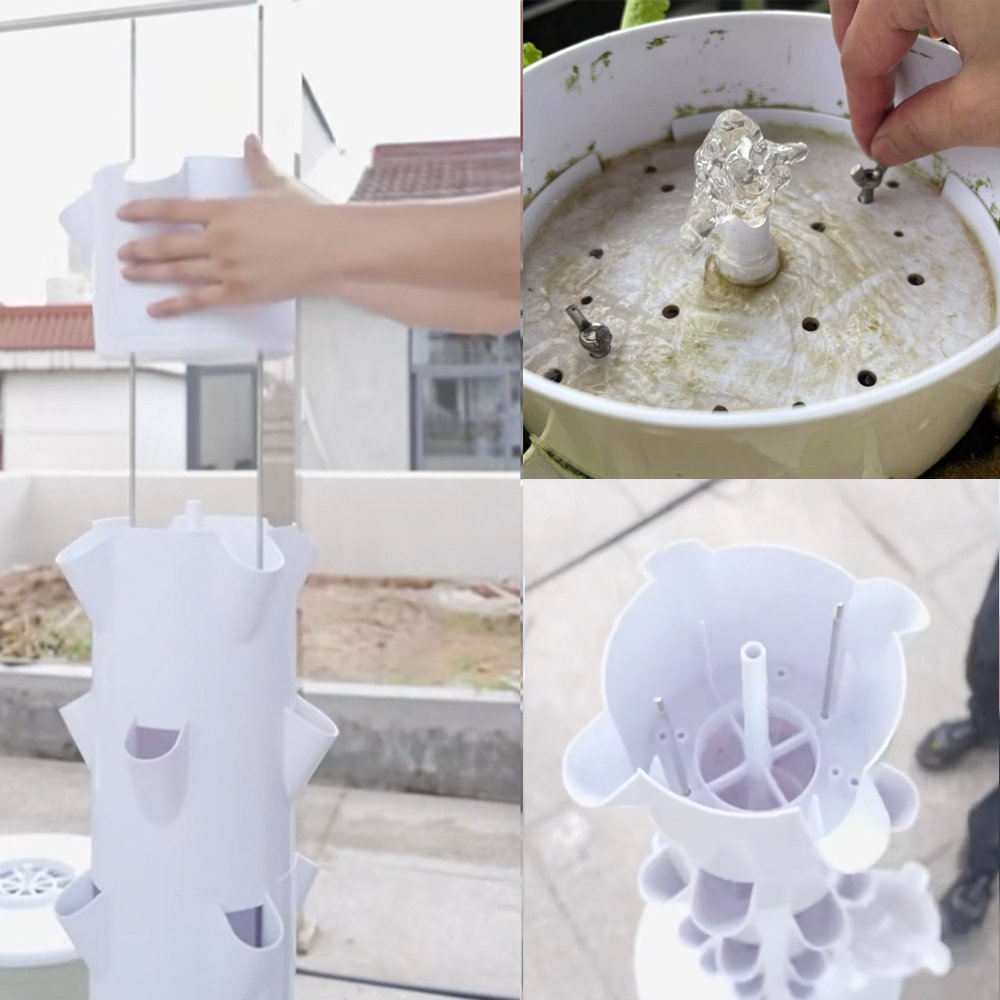
Density is a planning decision, not a guess: most towers run one plant per port for fruiting crops and can hold 2–3 herb plugs per port when you want bushier density. Our plant capacity guide has the exact port math for every tower size.
From transplant onward, the reservoir is your plant’s only source of food and water, so the numbers matter. The two numbers you check daily are EC (how strong the feed is) and pH (how available the nutrients are). Keep both in range and deficiency problems mostly disappear.
| Growth stage | EC target | pH target | Notes |
|---|---|---|---|
| Seedling (plugs, first 10–14 days) | 0.5–0.8 | 5.5–6.0 | Water only; cotyledons carry the seedling |
| First week in tower | 1.0–1.2 | 5.8–6.2 | Gentle introduction after transplant |
| Active growth (leafy greens) | 1.8–2.2 | 5.8–6.2 | Step up over 3–4 days, not overnight |
| Fruiting crops (tomato, pepper, strawberry) | 2.2–2.8 | 5.8–6.3 | Higher EC supports flower and fruit set |
Two practical rules keep reservoir chemistry boring (in a good way): top up with plain water between changes (plants drink water faster than they eat nutrients), and change the full reservoir every 2–3 weeks to reset salt buildup. For the full feeding schedule and mixing math, see our nutrient solution guide, the pH and water quality guide, and the reservoir change schedule.
From seed to harvest, the routine takes about 10 minutes per tower per day. That is the whole point of towers — the planting is planned, the feeding is scheduled, and the plants do the rest.
If something looks off — yellowing, slow growth, wilting — diagnose it before you treat it. The troubleshooting guide has a 60-second symptom table, and the maintenance 101 checklist covers the monthly deep-clean schedule that keeps a tower running for years.
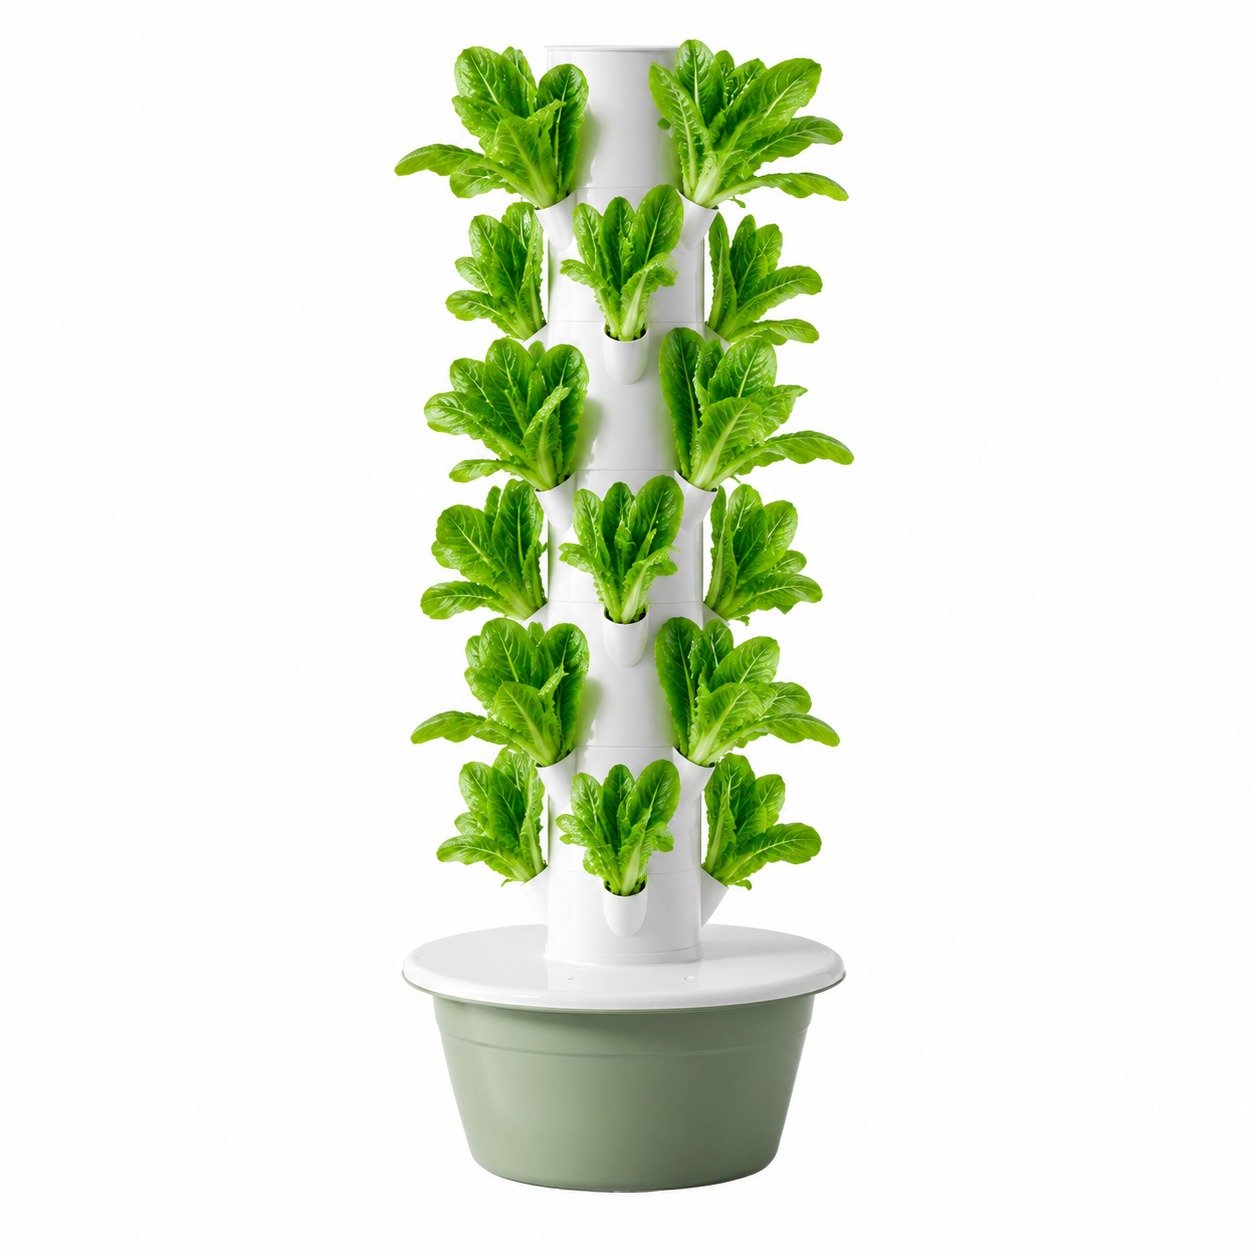
Harvest is when a tower proves its economics — and how you harvest decides how many harvests you get per plug. Leafy greens give you three options, and commercial growers usually mix all three depending on the buyer.
| Harvest method | How it works | Best for | Cycle time |
|---|---|---|---|
| Whole head | Cut at the base, remove plug, replant | Premium retail and food service buyers | Clean 30–40 day cycles |
| Cut-and-come-again | Cut leaves 2–3 cm above the crown | Salad mix and processing volume | 3–5 harvests per plug |
| Regrow from stump | Leave 2–3 cm of stem, let it resprout | Basil, arugula, some lettuces | 2–3 extra harvests, slightly slower each time |
Harvest in the coolest part of the day, and get leafy greens into cold storage within 30 minutes — that single habit is the difference between 10 days and 14 days of shelf life for your buyers. For pricing, yield math, and channel planning after harvest, our yield per square foot data and the produce sales guide cover the business side.
Here is a working calendar for a romaine lettuce tower, the benchmark crop for commercial towers. Adjust the dates for your crop choice, but keep the sequence identical — the order of operations is what protects your cycle.
| Day | Stage | Key actions |
|---|---|---|
| Day 0 | Sowing | Pre-soak plugs, sow 1–2 pelleted seeds per plug, dome on |
| Day 3–5 | Germination | Germination visible; start 1–2 h/day gentle airflow |
| Day 7 | First leaves | Remove dome; keep plugs moist; light at 150 µmol/m²/s |
| Day 10–14 | Transplant | 2–4 true leaves, roots through plug; move to tower at EC 1.0–1.2 |
| Day 14–21 | Establish | Step EC to 1.8–2.0; check port flow daily; pH 5.8–6.2 |
| Day 21–30 | Rapid growth | Thin to 1 plant per port; remove bottom leaves touching the reservoir |
| Day 30–35 | Harvest window | Cut whole heads or start cut-and-come-again; replant ports same day |
Stagger your sowing by 7 days and you harvest every week instead of once a month — with 12 ports per tower, that is one full harvest row rolling over every week per tower. Staggering is the single highest-leverage habit in commercial tower growing.
The tower’s design does the heavy lifting: gravity-fed irrigation, a closed reservoir, and 360° of usable planting surface. Your job is simply to feed the cycle — sow on schedule, transplant at the right size, keep EC and pH in range, and harvest on time. Growers who lock in this routine see consistent 30–40 day cycles on leafy greens, tower after tower, season after season.
If you are planning a commercial tower setup and want help with crop planning, port math, or a planting schedule for your specific crop mix, send us an inquiry — we supply factory-direct towers in 5 to 13 layers and work with growers on system sizing every week.
